Over the course of a game, it's often the case that the same series of Actions will need to be performed, only with slight differences.
When the player picks up an object in the scene, for example, we'd likely want to do the following:
- Move the Player towards the object
- Have the object turn invisible
- Disable the Hotspot
- Add the item to the Player's inventory
We could create the same four Actions for each item in our game - but what if we wanted to add a sound effect to this? We'd have to go through each set of Actions and update them for every time.
ActionList parameters allow us to "recycle" Actions by changing their field values each time they're run. This may not sound like much of a difference, but this is just a basic example - when dealing with more complex sequences, parameters can be a great time-saver.
In keeping with the above example, let's make an ActionList that we can rely on every time we want the player to pick something up.
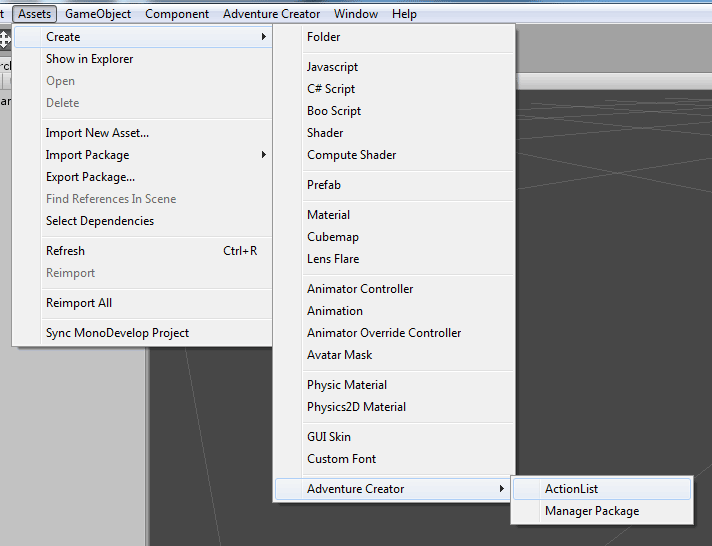
Begin by creating a new ActionList asset by choosing Assets → Create -> Adventure Creator → ActionList from the top toolbar.
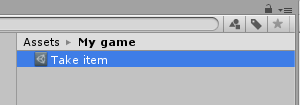
In the Project window, rename this new asset Take item.
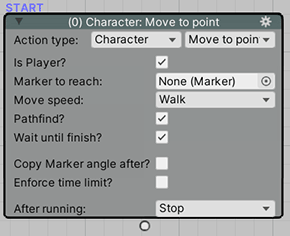
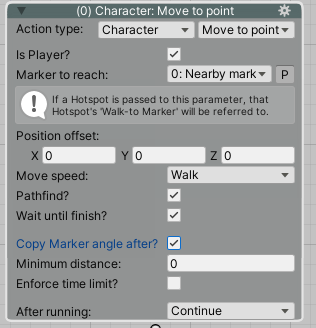
Change its first Action to a Character: Move to point Action, checking both the Is Player? and Pause until finish? boxes. Leave the Marker to reach field blank - we'll be setting this dynamically later.
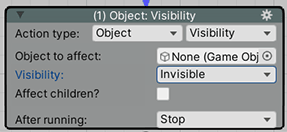
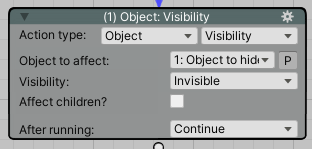
Next, create an Object: Visibility Action, and set Visibility to Invisible. Again, leave the Object to affect field empty.
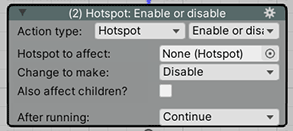
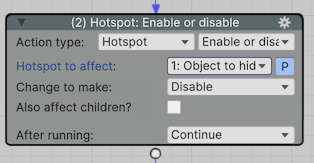
Thirdly, create a Hotspot: Enable or disable Action, and set the Change to make to Disable.
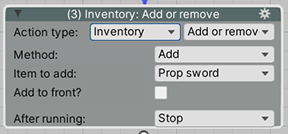
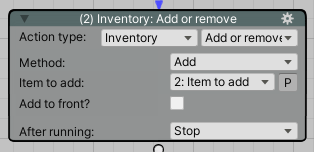
Create a final Inventory: Add or remove Action, and set the Add or remove field to Add. The Inventory item field will set itself to the first item defined in the Inventory Manager - but don't worry about that.
So far, we've ignored a crucial field in each Action. That's because we'll be setting these dynamically using parameters.
We'll give each Action one parameter, so we'll need three of them. In the Asset properties box, check Use parameters?, and click Create new parameter 3 times.
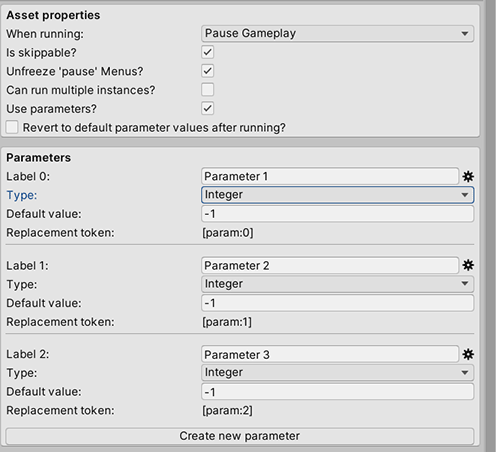
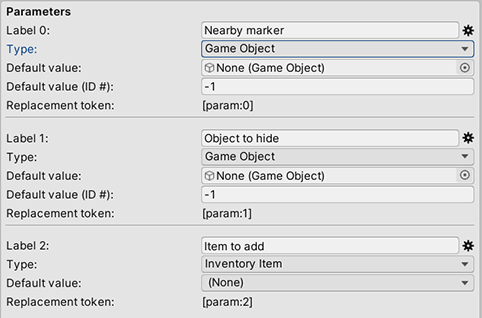
Three parameter rows will now be listed. We can give each a name, and choose a type. Our first parameter will determine the Marker that we'll make the player walk to, so name it Nearby marker, and set its type to Game Object.
Our second parameter will determine which scene object to hide, so name it Object to hide, and set its type toGame Object. If this is also the object with the Hotspot we wish to disable, we can have this parameter share both purposes.
Our third parameter will determine which Inventory item to give the player, so name it Item to add, and set it's type to Inventory Item.
Now that we've defined some parameters, the Actions below have expanded so that we can assign them. If a field label appears twice, it means that we can override it with a parameter. If we don't choose a parameter, the field can be set as normal.
Going back to our Character: Move to point Action, click the P button to the right of the Marker to reach field to override it:
In the Object: Visibility Action, set the Object to affect to Object to hide.
In the Hotspot: Enable or disable Action, set the Hotspot to affect to Object to hide.
In the Inventory: Add or remove Action, set the Inventory item to Item to add.
Our parameterised ActionList is now complete. Though we can also apply parameters to scene-based ActionLists such as Cutscenes, the added bonus of using an ActionList asset is that we can call upon this ActionList from any scene.
To use this asset, simply use the ActionList: Run Action from any other ActionList. Set the Source to Asset File, set the ActionList to Take item. The Action will recognise that Take item contains parameters, so set the Run mode field that appears to Set Parameters And Run. Doing so will allow us to set their field values:
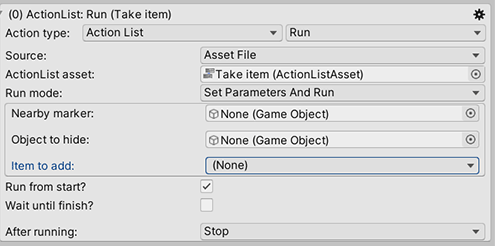
We can now choose a Nearby marker for the player to walk to, the scene-based Object to hide, and the Item to add to the player's Inventory.
These fields will only be set as such for this time only, and we can re-use this asset to affect a completely different set of objects each time.