We can begin a 2D scene with placing down the various sprites that make up its background graphics. Here, we'll use those from the 2D Demo - found in AdventureCreator → 2D Demo → Graphics → Sprites → Park - but you can use whatever sprites you choose. Arrange them in the Scene window as desired:
![]()
Be sure to drag-and-drop one sprite asset into the scene at a time - otherwise, Unity will assume you want to combine them to form an animation.
AC's pathfinding works best when the size of these sprites are roughly comparible to Unity's unit system - where 1 unit = 1 metre. You can adjust sprite sizes either in the scene, or by altering their Pixels Per Unit values in their asset Inspectors.
If you find that your sprites aren't being drawn in the correct order, you can configure each Sprite Renderer component's Order in Layer value - with higher values causing sprites to be drawn on top of others:
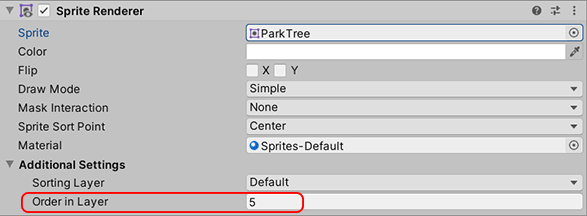
We'll want to lower the Order In Layer values of our background sprites, so that they're always drawn underneath the Player and other scene sprites. We'll sort the Tree and Bench sprites later. Using the 2D Demo's assets, we've placed in the following sprites with these orders:
- ParkSky → -15
- ParkBackround → -10
- ParkGround → -5
- ParkBench → 0
- ParkTree → 0
We're now ready to convert the scene into an "AC" one. Bring up the Game Editor window, and select the Scene Manager:
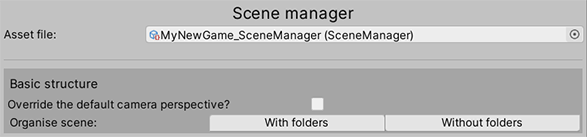
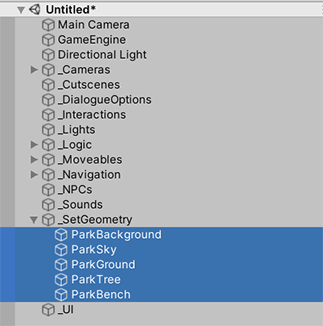
We'll get an option to organise the scene with or without folders. Either option is fine - folders are just a handy way to keep the Hierarchy de-cluttered. For example, we'll get a _SetGeometry folder in the Hierarchy - into which we can place all of our background sprites:
Either way, the Scene Manager will then expand with more fields. Towards the top is Scene settings, where a Default PlayerStart has already been created and assigned:
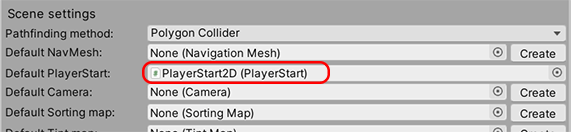
The Default PlayerStart marks where the Player will begin the scene from, if the game is started from this scene. It is represented in the Scene window by a blue arrow - re-position and rotate it to somewhere more appropriate:
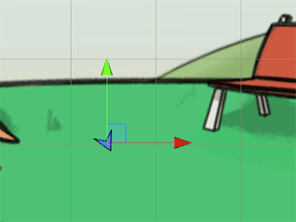
Back in the Scene Manager, see the Default Camera field just beneath. It's currently empty, so click Create beside it to auto-create and assign a new GameCamera2D.
Select the new NavCam 1 in the Hierachy, and give it a negative value for its z-position so that it can see the sprites. Adjust the other Camera values to suit.
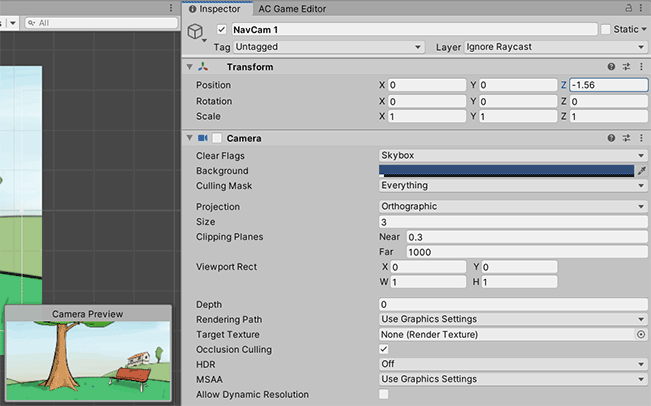
Why make a new camera when we already had a MainCamera? The MainCamera is the only camera that renders anything - but GameCameras are used for reference. At runtime, the MainCamera will "stick" to whichever GameCamera is active, which will be "NavCam 1" by default.
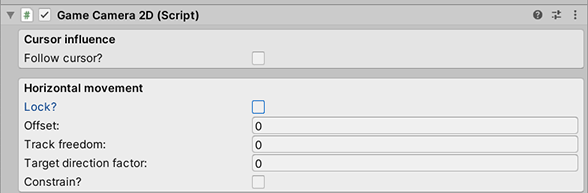
You can configure this camera's Game Camera 2D component to have it move as the Player moves around - just uncheck Horizontal movement and you'll get many options to control how it moves:
Run the scene, and if you created a default Player character, they'll appear at the PlayerStart:
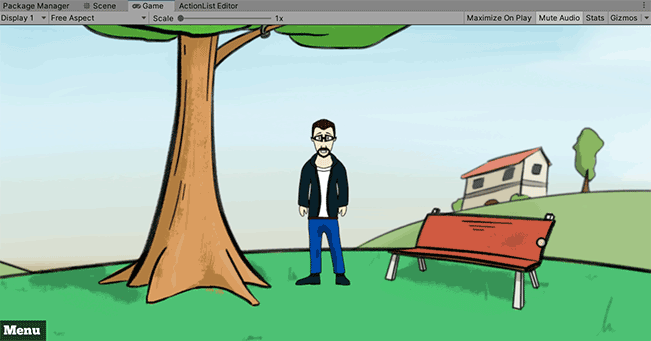
If you've set the Settings Manager's Movement method to Point And Click, though, they won't be able to move around just yet. We'll address this in the next tutorial by creating a 2D NavMesh.