Taking an NPC and making them interactive is just a case of adding a Hotspot and a collider.
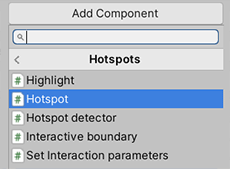
You can add a Hotspot via the Add component menu at the bottom of their Inspector - either by typing in the name or selecting Adventure Creator → Hotspots → Hotspot.
Be sure to add this to the character's Sprite child if they're a 2D character. They'll also need a collider that covers their body to make them clickable.
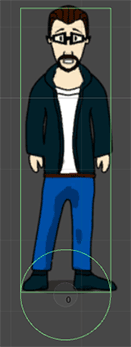
2D NPCs typically need two colliders: a Circle Collider 2D by their feet on their root object, and a Box Collider 2D covering their body on their sprite child:
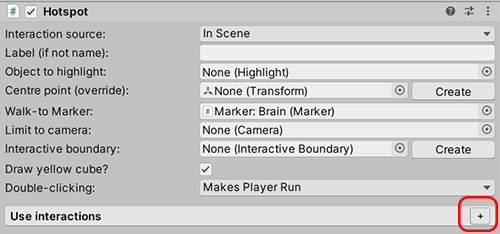
If you wish for your Player character to move towards the NPC before interacting with him, you can define a Walk-to marker that the Player will move to. This can be auto-created in the Hotspot's Inspector, and then positioned in the Scene window.
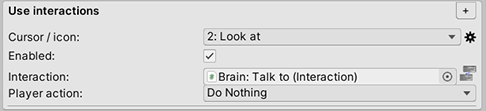
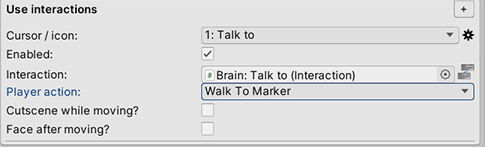
You can now define Interactions in your Hotspot Inspector. Under Use interactions, click the + icon to create a new Interaction:
From here, you can choose what kind of Interaction it is. You can define what choices are available from the Cursor Manager. The Player action popup box determines what the Player character does before the Interaction occurs.
What exactly occurs when the Player interacts with them is defined in a separate Interaction ActionList, assigned in the Interaction field. If the field is blank, you can click the Auto-create button to quickly create and refer to a new Interaction ActionList.
Clicking the node icon to the right of the Interaction field will bring up the ActionList Editor window, from where you can define exactly what the interaction entails: