Each game made with Adventure Creator requires a set of eight Managers - asset files that are used to store all the settings, inventory items, variables, and so on that the game uses.
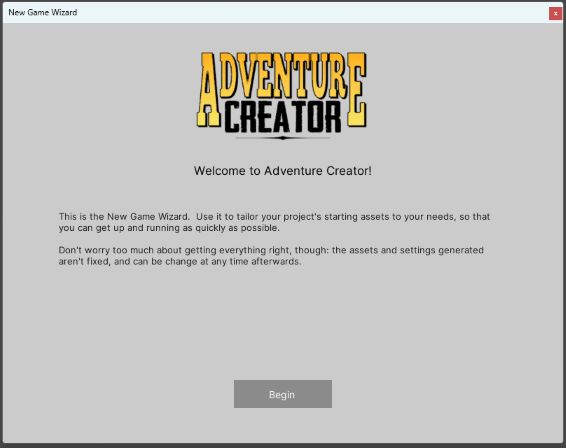
The first step to making any game in AC is to create its Managers, which we can do by going to the top toolbar and choosing Adventure Creator → Getting started → New Game Wizard.
This will bring up the New Game Wizard:
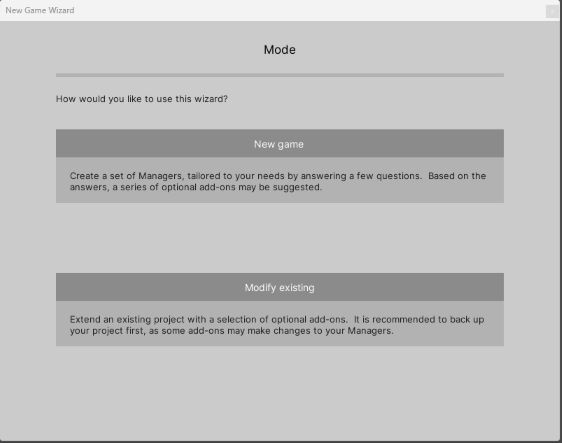
Click Begin, and the window will prompt you to choose how you wish to use the wizard. If you have already created your Managers and wish to install additional Templates, you can choose Modify existing. Here, though, click New game to continue the installation process:
You'll next be prompted to supply a name for your game. The project folder the wizard will create will be shown underneath.
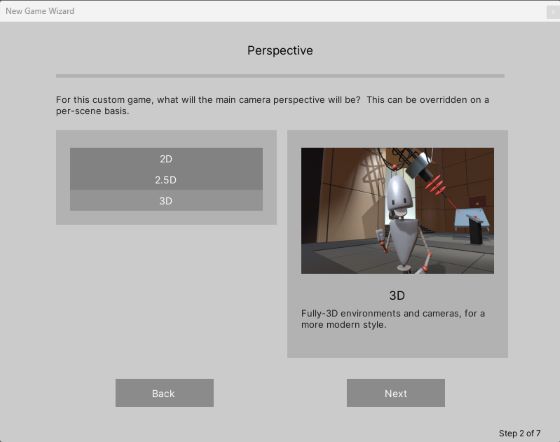
The next pages will ask you to choose a camera perspective, movement method, and interaction style:
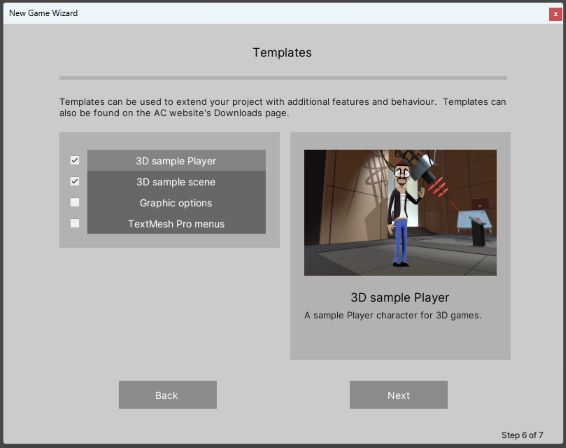
Towards the end, you'll reach the Templates page, where you can choose to install optional Templates that add additional features. The Templates suggested will be based on your earlier choices:
On the Review page, you can check the settings that your choices have provided, and tweak them as necessary. You can also change these after installation.
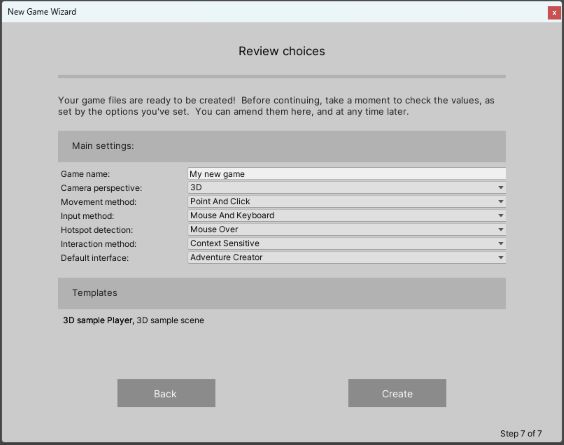
When ready, click Create. After a few moments, you'll have a new folder in your Assets directory in which your Managers are stored.
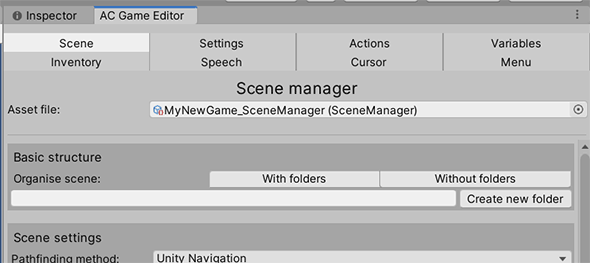
You'll also find that the Game Editor window has appeared, displaying each Manager in their respective tab:
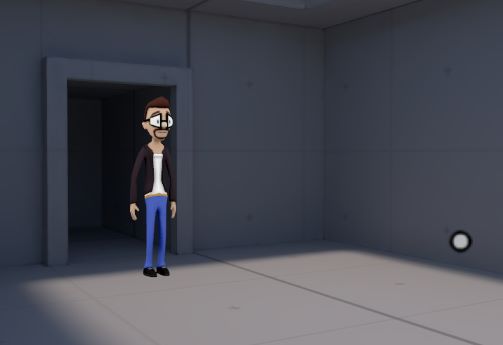
If you opted to install a sample scene, it will now be open to run:
Now that you've created your Managers, let's go through them. You'll be spending a lot of time with the Game Editor window, so it's important to know what each Manager is for.