To keep working on your game manageable, it's a good idea to split up your game's locations into as many scenes as possible. It's common for adventure games to separate each room or location in a separate scene file.
This series of interaction tutorials have involved making a door. Let's add some purpose to the door by letting it take the player to a new scene.
Begin by creating your new scene in the same manner as before - you can refer to the earlier tutorials for more on doing so.
By now, though, you'll have seen the Default PlayerStart that the Scene Manager creates for you when making a new scene. This marks where the Player character will appear. It's called the "default" because AC actually looks for one that's more appropriate when a scene begins - based on which scene the player just came from. For any unique entrance to a scene, we can make a PlayerStart that will activate upon entering from that scene. If no such PlayerStart is found, the default will be used instead.
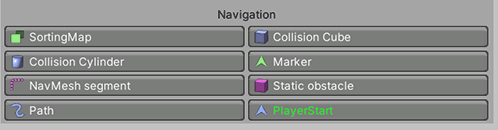
A new PlayerStart can be added by clicking the PlayerStart icon in the Scene Manager's list of Navigation prefabs.
Position it where you want the Player to appear from at the end of the scene-switch, and then go to its Inspector. Configure its Previous scene activation fields so that they refer to the scene we'll be starting in, for example:

If you choose the scene by Name, you'll need to enter the filename of the other scene. Otherwise you'll need to enter in its Build Index number. In either case, both scenes will need to be added to Unity's Build Settings.
Be sure to also assign a GameCamera in the Camera on start field - this can be the scene's default if you wish.
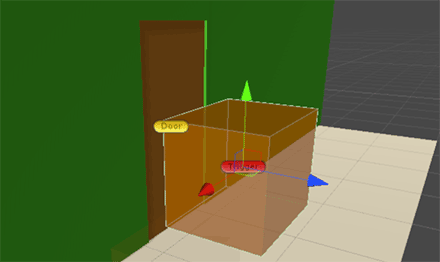
Now that we have our two scenes, we can make the switch. To do that, we'll make use of another Trigger. Create another Trigger from the Scene Manager, and place it on the other side of the door:
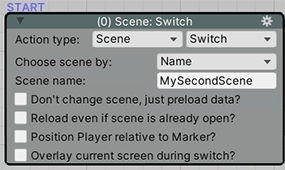
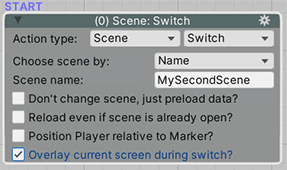
This time, set the Trigger's Action to the type Scene: Switch, and fill in the fields. Again, you can refer to the next scene either by its name or number:
Run the scene and give it a try: you should be able to use the button to walk through the door, and appear in the next scene!
Adding a transition effect
By default, the screen will turn black for a short duration while the next scene is loaded. However, it's possible to add some nicer transition effects for a more polished feel.
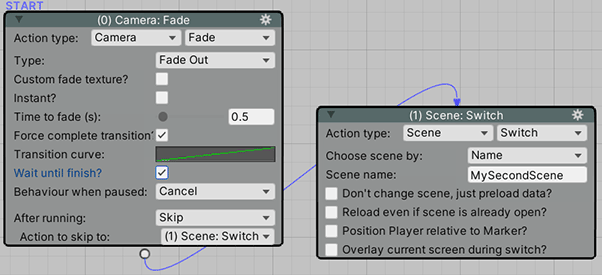
For example, by using the Camera: Fade Action to fade out just before the scene change (and another one to fade back in afterwards), we can fade to black, and then back again:
Or, we can remove the transition completely, and just have a straight cut from one scene to the next. We can do this by checking Overlay current screen during switch? in the Scene: Switch Action. This will make AC take a screenshot of the first scene, and overlay it during the switch:
For a crossfade effect, we can combine this option with a Camera: Fade Action in the new scene. If we overlay the first scene, and fade in at the start of the second, the camera will crossfade.
Loading screens
We can also dedicate a specific scene in our project to be used as an "interim" scene when switching from one game scene to another. This is useful if our scenes are large and take a while to load, since we can place graphics inside this interim scene to tell the user that the game is loading.
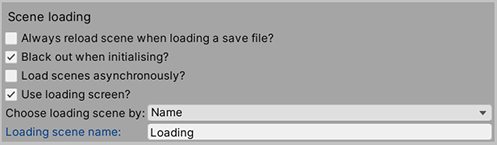
With a loading scene created (here, named Loading), and then check Use Loading screen? within the Settings Manager. You can then enter in the details of the scene to use:
We can also make use of progress bars to give the user an idea of how long the loading will take. See this tutorial for more on this topic.